Side-Hinged Windows and Doors Installation Guide for Home Renovation in 2025

In the upsurge of home secondary renovations in 2025, Side-Hinged Windows and Doors have become the top choice for many homeowners due to their excellent sealing performance, and window and door renovation has long changed from an “option” to a must-do project. Most old houses have relatively low-standard original interior door materials (mostly ordinary solid wood composites with a wear resistance of less than Grade 3), which are not only difficult to be decorated personally but also unable to meet the modern living needs for sound insulation and thermal insulation. Even for new house renovations, choosing the right type of windows and doors and completing the installation work well can directly improve living comfort. There are mainly two types of common windows and doors on the market, with core differences shown in the table below:
| Type of Windows & Doors | Core Advantage | Suitable Space | Selection Rate in 2025 Home Decoration |
|---|---|---|---|
| Side-Hinged Windows and Doors | Strong sealing (airtightness up to Grade 8) | Bedrooms, bathrooms, shower rooms | About 62% |
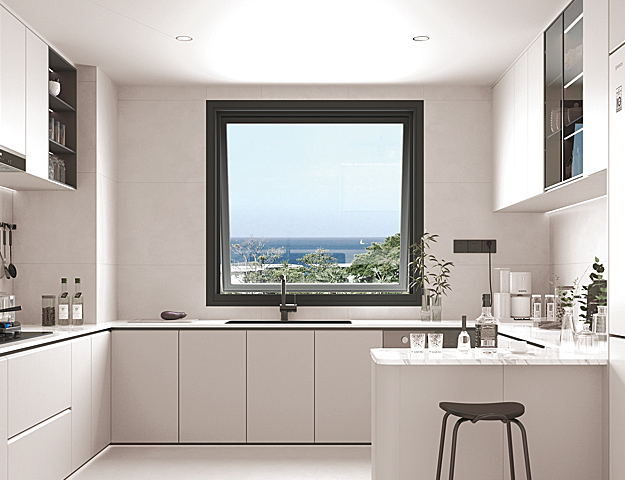
| Sliding Windows and Doors | Space-saving (no extra space when opened) | Balconies, kitchens (frequent opening/closing needed) | About 38% |
The reason why Side-Hinged Windows and Doors are highly favored is that they can effectively isolate outdoor noise (reducing noise by 15-20 decibels) and heat/cold transmission, making them especially suitable for bedrooms and bathrooms that require high privacy and comfort. However, to give full play to these advantages, standardized installation technology is essential. The following will break down the three core steps of Side-Hinged Windows and Doors installation.
Step 1: Accurately Determine the Installation Position — Based on the 500mm Horizontal Line
Before installation, it is necessary to clarify the “reference coordinates” of the wall: take the horizontal line 500mm from the ground as the core reference (this is a general reference height in the 2025 home decoration industry, consistent with the baseboard height and furniture placement needs of most families), and cooperate with the indoor coordinate reference line to clearly draw the installation position line of the Side-Hinged Windows and Doors frame on the wall.Tips: For rough houses, it is necessary to level the wall first (with an error controlled within 2mm) before drawing the line; for hardcover house renovations, it is necessary to clean the residual putty or paint on the wall first to avoid blurred lines affecting positioning accuracy.
Step 2: Temporary Fixation — Correct Positioning is Key
Place the Side-Hinged Windows and Doors frame on the drawn installation line, manually adjust it to a roughly horizontal state, and then temporarily fix it with wooden molds. Then use a plumb bob to detect the verticality of the door frame (the error should be ≤1mm/m), and use a level to calibrate the levelness (the error ≤0.5mm/m) to ensure that the door frame is not inclined. After correction, select 100mm-long galvanized nails (the mainstream choice in 2025, with rust resistance 3 times higher than ordinary iron nails) to fix the door frame to the wooden bricks embedded in the wall. The nail caps should be flattened and driven into the frame to avoid protrusions affecting subsequent decoration construction.For old window and door renovations, there is no need to install new door frames, but it is necessary to draw the door frame position line on the wrapped door pocket and fix it firmly with carpenter nails to prevent the door pocket from shifting.
Step 3: Fix the Sash — Correct Hinge Groove Position is Essential
Lean the sash against the door frame, draw the processing lines for height and width according to the actual size of the door opening, and trim it with a plane to meet the standard (the gap is controlled at 2-3mm, which not only ensures smooth opening and closing but also takes into account sealing performance). Then accurately cut out the hinge grooves. Note that it is recommended to install 2-3 hinges for a single Side-Hinged Windows and Doors sash (3 hinges are required for doors with a height of more than 2.4m). The depth of the hinge groove should be consistent with the thickness of the hinge, and the position deviation should not exceed 1mm — otherwise, the sash will easily twist after being fixed, and abnormal noise will occur when opening and closing.Finally, fix the hinges to the sash first, then install them on the door frame accordingly. When tightening the screws, it is necessary to operate in two steps to avoid wood cracking due to excessive force at one time.
Frequently Asked Questions (High-Frequency Questions from Homeowners in 2025)
- Do old Side-Hinged Windows and Doors have to be replaced during secondary renovations?Not necessarily. If the old window and door frames are not deformed and the hardware (hinges, locks) is not seriously worn, you only need to replace the sashes and sealing strips, which can save about 30% of the cost and retain the stability of the original frame.
- How to check the sealing performance of Side-Hinged Windows and Doors after installation?After closing the windows and doors, clamp a piece of A4 paper between the sash and the frame. If you feel obvious resistance when pulling the paper, the sealing performance is up to standard; if the paper can be pulled easily, you need to readjust the hinge position or replace the sealing strip.
Contact State Crown
Explore the State Crown products
SLIDING DOOR
OCEANIA SLIDING DOOR GB-100
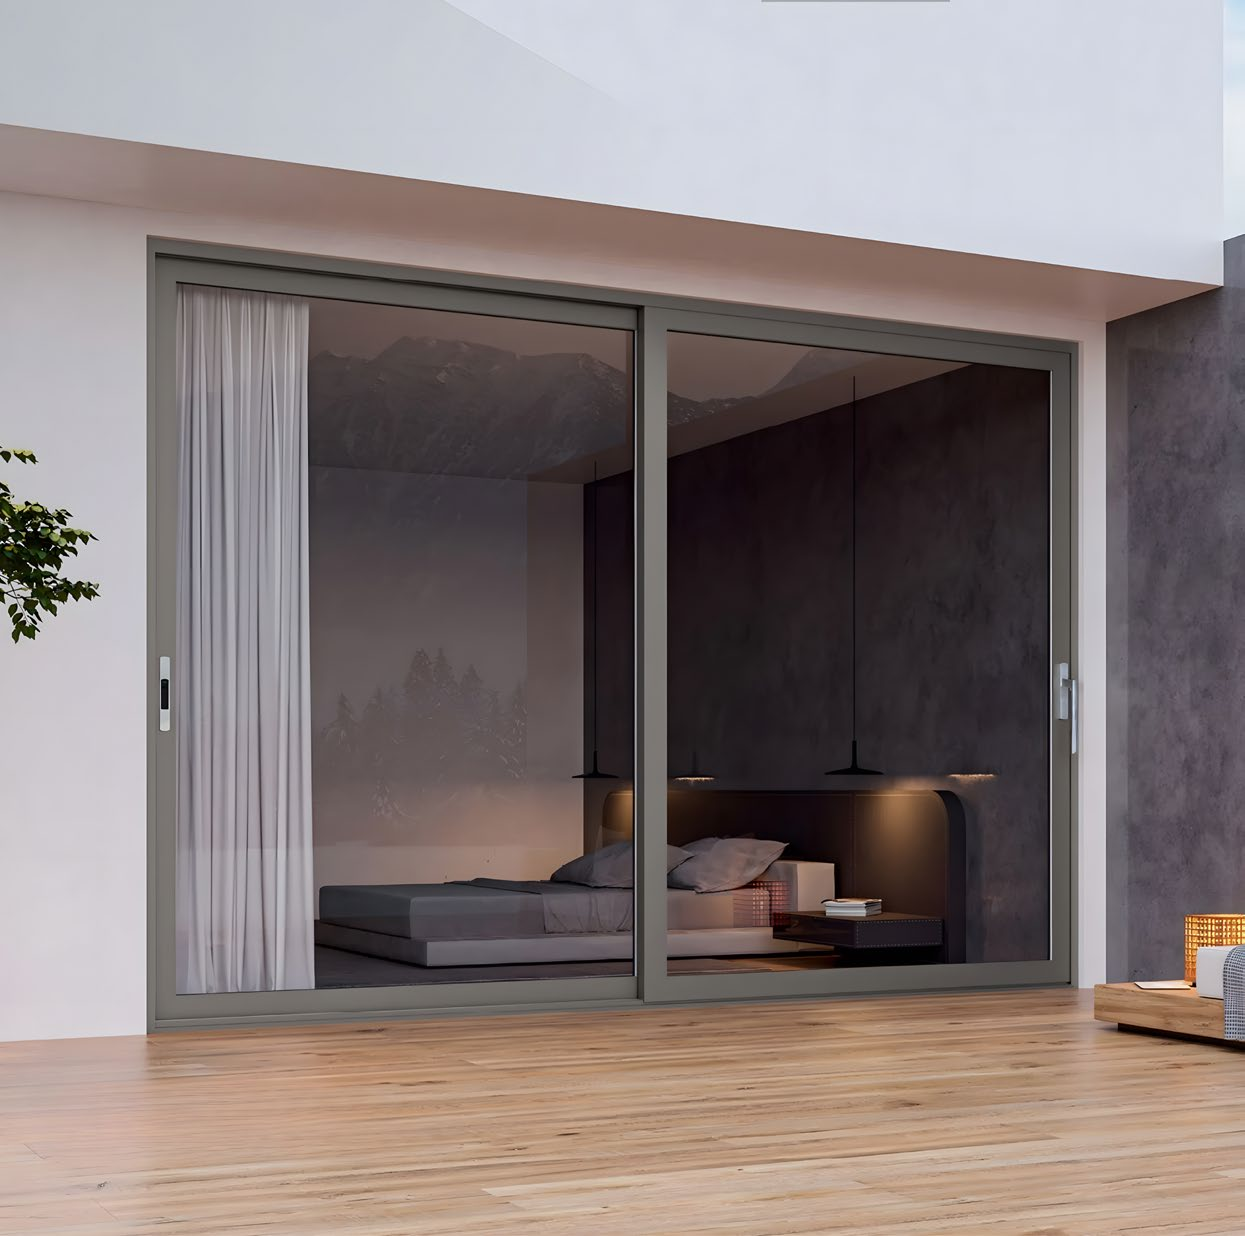
Designed for effortless operation and lasting performance, the OCEANIA SLIDING DOOR GB-100 combines sleek modern aesthetics with industrial-strength engineering. Ideal for residential and commerci...
SLIDING DOOR
HEAVY DUTY LIFT-SLIDE DOOR GB-127

The GB-127 Heavy Duty Lift-Slide Door combines robust engineering with effortless operation, designed to meet high performance standards in both commercial and residential settings. Its innovative...
HAND-CRANK WINDOW
HAND-CRANK WINDOW GB-100
State Crown’s hand-crank windows solve accessibility challenges with smooth mechanical operation. Featuring heavy-duty stainless steel gears and corrosion-resistant linkage systems, our cran...
Contact State Crown
Custom Solutions for Global Projects
Established in 2005, we specialize in the customization of premium aluminum alloy doors and windows. With over ten years of industry experience, we are committed to the product philosophy of "Safety, Practicality, and Advanced Technology".
- ISO9001 Quality Management System
- EU CE certification
- IPMS (Intellectual Property Management System)
- Australian, American, and Canadian standards
We are located in Foshan, Guangdong, just under one hour's drive from Guangzhou Baiyun International Airport, in the heart of the Pearl River Delta Economic Zone.
If you are interested in any of our products, or would like to discuss a custom order, please feel free to contact us. We look forward to building long-term business relationships with clients around the world.